
Hey there, friends! I’m thrilled to share one of my favorite Easter recipes: Bunny Butt Oreos Recipes. These cute little treats are a staple at my holiday gatherings, and they never fail to make everyone smile. They’re easy to whip up, super customizable, and perfect for getting the kids involved. Let me walk you through how I make them, plus some tips and tricks I’ve learned over the years.
A Bit of Oreo History
Before we dive in, let’s talk about Oreos. Did you know they’ve been around since 1912? Nabisco introduced them in Hoboken, New Jersey, and they’ve since become the world’s best-selling cookie, with over 500 billion sold (Oreo History). I love that we’re taking such an iconic treat and turning it into something extra special for Easter. Whether you’re a “twist, lick, and dunk” fan or a straight-up biter, these cookies are the perfect canvas for our bunny butts.
Bunny Butt Oreos Recipes
Why Bunny Butt Oreos Are a Must
These treats are all about fun and flavor. You take a simple Oreo, dip it in chocolate or candy melts, and decorate it to look like a bunny’s behind. They’re quick to make, taking just 15 minutes to prep and 10 minutes to set. Plus, they’re a crowd-pleaser for all ages, making them ideal for Easter parties or family gatherings.
Ingredients You’ll Need
Here’s what I grab for a batch of 12 Bunny Butt Oreos:
- 12 Oreo cookies: I usually go with classic chocolate, but Golden or mint Oreos are fun too.
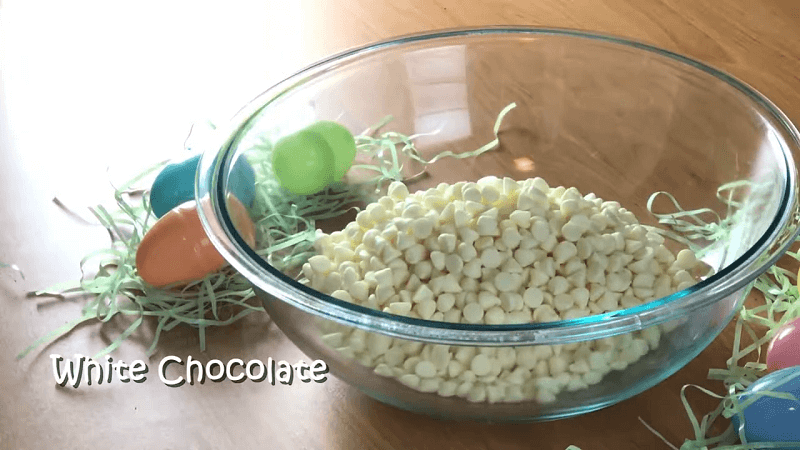
- 1 cup white chocolate or candy melts: White or pink for that Easter vibe. Candy melts are my go-to for ease.
- 1 tsp coconut oil: Optional, but it makes the chocolate smoother for dipping.
- 12 mini marshmallows: These become the fluffy bunny tails.
- 24 pink candy-coated chocolates: Think M&M’s or heart sprinkles for the feet.
- 24 small white candy pearls or sprinkles: These are the tiny toes.
I love using candy melts because they’re so easy to work with. Unlike white chocolate, which needs tempering to get that perfect snap, candy melts melt smoothly and set fast without any fuss (Candy Melts vs. Chocolate). They’re made with vegetable oils instead of cocoa butter, which makes them less rich but more forgiving for beginners.

Step-by-Step Instructions
Let’s get to the fun part—making these adorable treats. Here’s how I do it:
- Melt the Chocolate
I pop the chocolate or candy melts into a microwave-safe bowl. Heat in 30-second bursts, stirring each time, until it’s smooth. If it’s too thick, I add a teaspoon of coconut oil to thin it out. This makes dipping a breeze. - Dip the Oreos
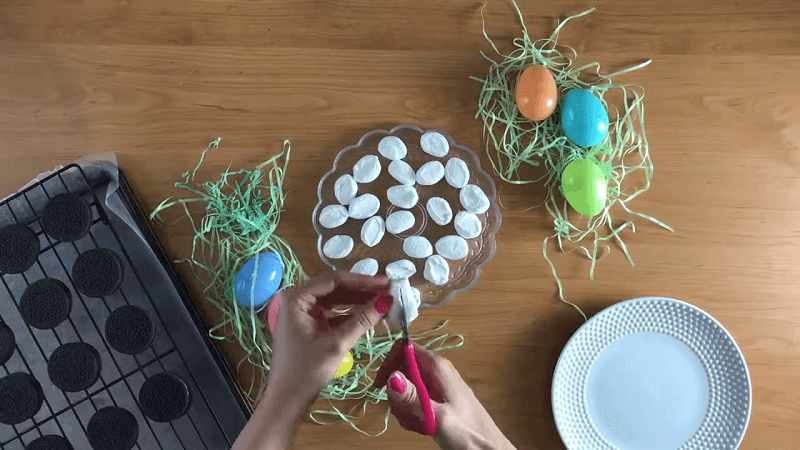
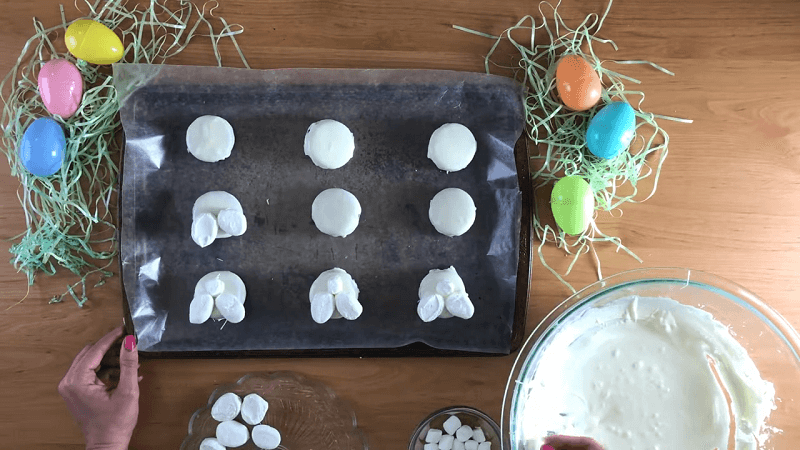
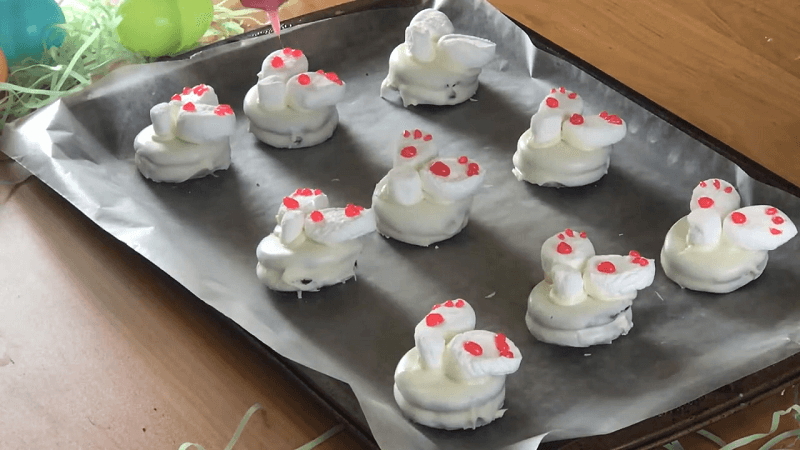
I hold each Oreo by the edge and dip it into the melted chocolate, covering it completely. Let the excess drip off, then place it on a parchment-lined baking sheet. Parchment is key to prevent sticking. - Add the Bunny Tail
While the chocolate is still wet, I press a mini marshmallow into the center of each Oreo. This is the bunny’s fluffy tail. Make sure it sticks well. - Decorate the Feet
On each side of the marshmallow, I place two pink candies for the feet. Then, I add three white candy pearls per foot for the toes. You’ve got to work quickly before the chocolate sets. - Let Them Set
I let the Oreos harden at room temperature for about 15 minutes. If I’m in a rush, I pop them in the fridge for 5-10 minutes. Once set, they’re ready to serve!
Choosing Your Oreos and Coating
Not sure which Oreos or coating to use? Here’s a quick comparison to help you decide:
Oreo Types
| Oreo Type | Flavor | Texture | Best For |
| Regular Oreos | Classic chocolate | Slightly less creamy | Traditional look |
| Double-Stuf Oreos | Extra creamy filling | More filling, might be messier | If you love lots of cream |
| Golden Oreos | Vanilla cookies | Lighter color, vanilla flavor | A different twist, great for variety |
Coating Options
| Coating Type | Ease of Use | Taste | Setting Time |
| White Chocolate | Requires tempering, more difficult | Rich chocolate flavor | Slower, needs proper tempering |
| Candy Melts | Easy to melt and set, no tempering needed | Sweeter, less chocolatey | Faster, sets quickly |
I usually stick with candy melts for their ease, especially when I’m making these with kids. But if you’re a chocolate lover, white chocolate gives a richer taste—just be ready to temper it properly (Real Chocolate vs. Melts).
Getting Creative with Variations
One thing I love about Bunny Butt Oreos Recipes is how versatile they are. Here are some ideas I’ve tried:
- Flavors: Mint Oreos add a refreshing kick, while peanut butter Oreos bring a nutty twist. Strawberry Oreos are great for a fruity vibe.
- Colors: Use pink, blue, or pastel candy melts to match your Easter decor. Sprinkle on some colored sugar for extra sparkle.
- Designs: Want to go beyond butts? Add candy eyes and a nose for full bunny faces. Or use mini Oreos for bite-sized treats.
You can also experiment with coconut flakes or colored icing for different textures and looks. The kids love coming up with their own designs, like adding bunny ears with piped icing.
Troubleshooting Tips
Here are some tricks I’ve learned to avoid common pitfalls:
- Thick chocolate? Add a bit more coconut oil to thin it out. Start with a half teaspoon and adjust.
- Chocolate too runny? Let it sit for a minute to thicken naturally.
- Oreos crumbling? Make sure they’re fresh. Stale cookies can break during dipping.
- Decorations falling off? Press them firmly into the wet chocolate and work quickly.
Involving the Kids
This is one of those recipes that’s perfect for family time. My kids love helping with the decorating. They spread the chocolate, stick on the marshmallows, and place the candies. It’s a great way to teach them about measuring, following steps, and getting creative. Just keep an eye on them around hot chocolate or sharp tools.
Storage Tips
These Bunny Butt Oreos are best fresh, but they store well too. I keep mine in an airtight container at room temperature for up to 3 days. For longer storage, wrap each one in plastic wrap and pop them in a freezer-safe bag. They’ll last up to 2 months in the freezer. Just thaw at room temperature before serving.
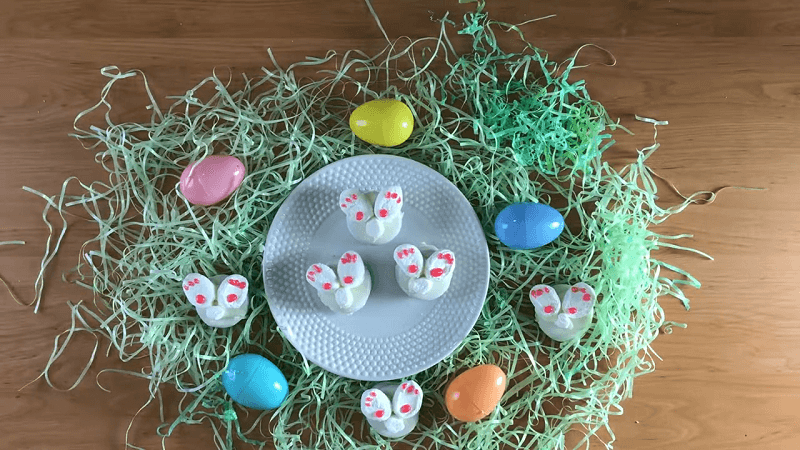
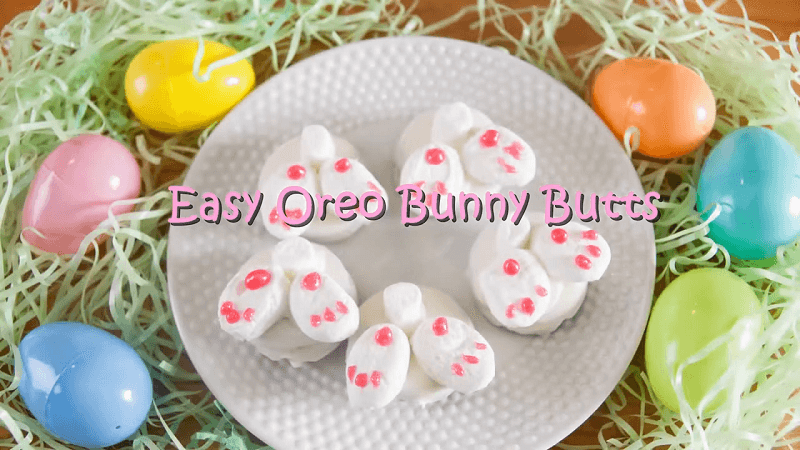
Serving Suggestions
Presentation is everything with these treats. I arrange them on a bright, colorful platter with pastel plates for that Easter vibe. Add some edible flowers or tiny carrot decorations for extra charm. Pair them with cold milk, strawberry milk, or even mini carrot cakes for a full Easter spread. Jellybeans or fruit slices make great sidekicks too.
Why Bunnies for Easter?
Ever wonder why bunnies are an Easter thing? It goes back to ancient pagan festivals where hares symbolized fertility and new life, perfect for spring. Over time, this merged with Christian Easter traditions, and the Easter bunny became a beloved figure delivering eggs and treats (Easter Bunny History). These Bunny Butt Oreos are my fun nod to that tradition.
Decision-Making: Picking Your Perfect Bunny Butt Oreos
So, how do you choose the best version of this recipe? Here’s my advice:
- Oreo Choice: Go with regular Oreos for that classic chocolate taste. If you want something lighter, try Golden Oreos. Double-Stuf is great if you love extra cream, but they can be messier.
- Coating Choice: If you’re new to dipping, candy melts are your friend—they’re easy and forgiving. If you’re experienced and want a richer flavor, use white chocolate, but be prepared to temper it.
- Decoration Level: Short on time? Stick to the basic bunny butt with a marshmallow tail and candy feet. Got extra time? Add candy eyes, piped icing ears, or even sprinkles for a fancier look.
No matter what you choose, these treats will be a hit. I hope you have as much fun making and eating these Bunny Butt Oreos Recipes as I do. They’re a delicious, playful way to celebrate Easter with friends and family. Happy baking!
Bunny Butt Oreos Recipe
Ingredients
- 12 Oreo cookies (any flavor)
- 1 cup white chocolate or candy melts (white, pink)
- 1 tsp coconut oil (optional, for smooth melting)
- 12 mini marshmallows (for tails)
- 24 pink candy-coated chocolates or heart sprinkles (for feet)
- 24 small white candy pearls or sprinkles (for toes)
Notes
Cooking Steps:
-
Melt the Chocolate:
- Microwave white chocolate or candy melts in 30-second intervals, stirring until smooth. Add coconut oil for a thinner consistency.
-
Dip the Oreos:
- Using a fork, dip each Oreo into the melted chocolate, fully coating it. Let excess drip off.
-
Create Bunny Butts:
- Place dipped Oreos on parchment paper. Attach a mini marshmallow in the center as the tail while the chocolate is still wet.
-
Make Bunny Feet:
- Use two pink candy-coated chocolates (or heart sprinkles) below the tail for feet. Add three small white candy pearls on each foot as toes.
-
Let Them Set:
- Allow the chocolate to harden at room temperature for 15 minutes or refrigerate for faster setting.
-
Serve & Enjoy:
- Once set, serve these adorable Bunny Butt Oreos at Easter gatherings!

Hello! I am a seasoned culinary veteran whose passion for cooking began in my family kitchen and later I explored global cuisines. Now as a owner of the "OhMyRecipe" blog, I share my expertise by blending classic techniques with innovative twists. I advocates for culinary education and community engagement, making cooking accessible and enjoyable for all. Join me on a flavor-filled journey of delicious dishes and culinary inspiration.